OnePlus 3 and OnePlus 3T (A3003) is one of the world’s fastest charging phones with 6GB RAM. They come with great specs and with half the price than other flagship devices. From outside, there is no difference between them except the color. Both of the phones has 5.5″ Full HD Optic LED display. Front bottom part in the middle there is a fingerprint sensor and two soft-touch capacitive buttons on both side of it. I will explain step by step how to change the soft-touch buttons behaviour on these smartphones.
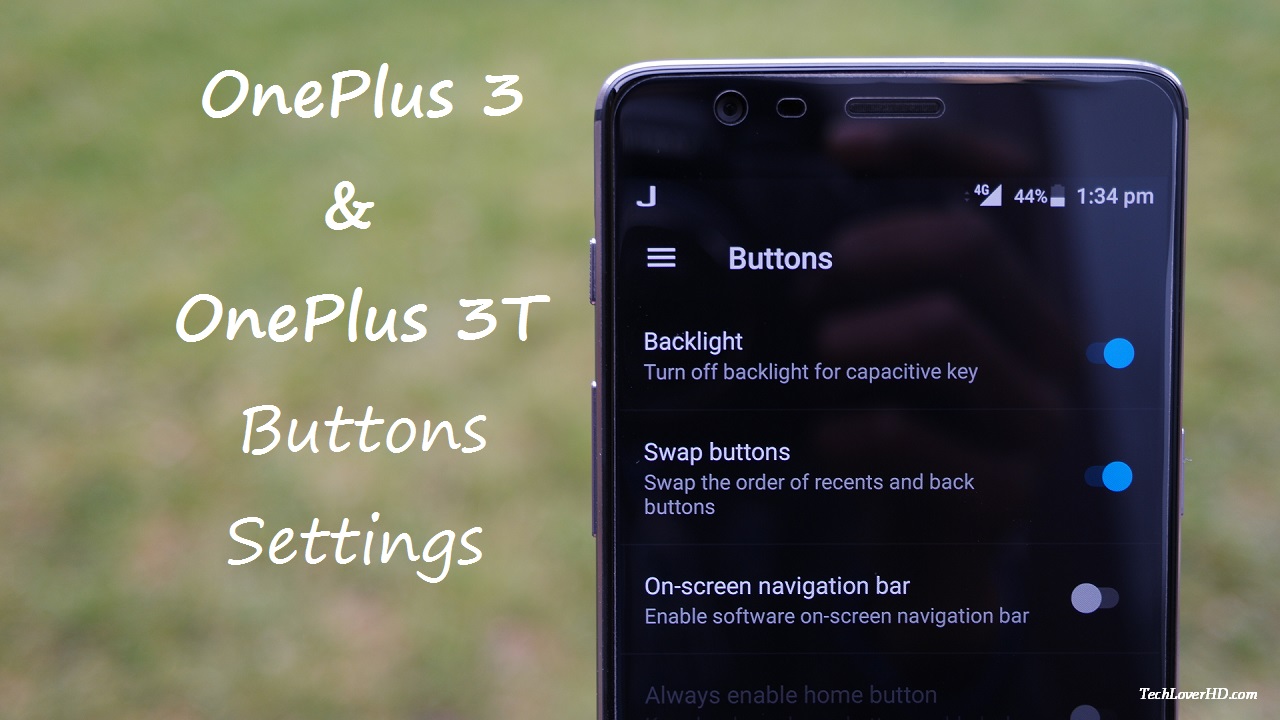
By default on OnePlus 3 & 3T, the left touch capacitive button works as Back button and the right button works as Recents. I’m right-handed and I prefer to have the back button on bottom-left side of a big screen phone. It is easier to reach with thumb while using the phone on one hand. And, the cool thing is, that you can change the button behaviour to suit your need.
This will change or swap the button behaviour straight way for Back and Recents button on OnePlus 3 & OnePlus 3T.
In this settings section of the phone’s you can customise a lot of other button functionality as well.
You can also select “Long press action” and “Double tap action” for the Back, Home & Recents button. The available options are listed below:
You can choose any action to perform from the list above and associate them with long press or double tap in your phone’s settings. This will save your time and make your life easy to use the phone.
Also, you can customise the Alert slider behaviour from the settings that suits your lifestyle or needs.
Was this tutorial helpful? Please let us know in the comments below.
Rescan can take a long time to finish if you have thousands of transactions in… Read More
The British government has introduced that it will continue to give Huawei a minimal role… Read More
Introduction Komodo's lead developer/founder James Lee "jl777" recently started working on an exciting new tech… Read More
Komodo, the pioneer of decentralised cross-chain Atomic Swap has released their new version of mobile… Read More
This script and guide is for users who checks their VerusCoin mining node often and… Read More
This is a step-by-step guide to claim your Bitcoin Gold (BTG) and convert them into… Read More
View Comments
useless article