
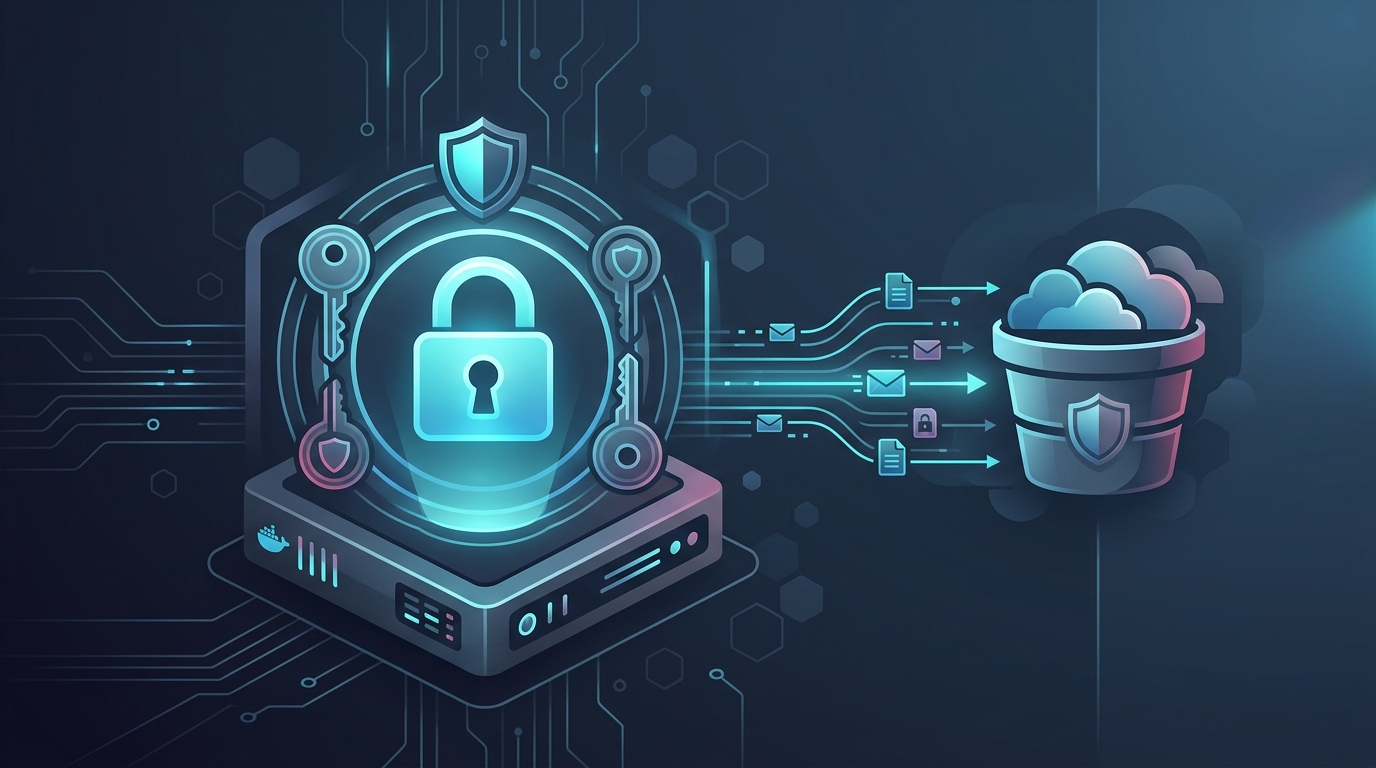
Cloud password manager breaches over recent years have made one reality abundantly clear: entrusting your master password and credential vaults to proprietary third-party servers carries inherent risk. Self-hosting your own password infrastructure gives you complete sovereignty over your encrypted credentials. However, running a password manager without an automated, offsite, zero-knowledge backup strategy is a ticking time bomb. One drive failure, corrupted volume, or server fire could permanently lock you out of your digital life.
In this guide, we walk through deploying a hardened Vaultwarden instance using Docker, pairing it with real-time WebSocket push synchronization, and configuring an automated, encrypted Restic backup sidecar that streams snapshots directly to Cloudflare R2. Cloudflare R2 provides 10 GB of free S3-compatible storage with zero egress fees, making it the ideal offsite disaster-recovery target. Best of all, if you already run our self-hosted WireGuard VPN tunnel, you can keep your vault entirely private and accessible strictly over your encrypted mesh.
System Architecture & Why Vaultwarden?
Official Bitwarden is an enterprise-grade suite written in .NET and MSSQL requiring 2 GB to 4 GB of RAM. In contrast, Vaultwarden is an open-source, lightweight alternative written in Rust that consumes only 30 MB to 50 MB of memory while remaining 100% compatible with every official Bitwarden application:
- Mobile: Official Bitwarden app on Android (pairs seamlessly with our privacy-hardened Android setup) and iOS.
- Desktop: Official native clients for Linux, macOS, and Windows.
- Browsers: Extensions for Firefox, Chrome, Brave, Edge, and Safari.
- Terminal: Bitwarden CLI (
bw) for DevOps and headless automation.
Here is how our production stack operates:
| Component | Service / Tool | Role in Stack |
|---|---|---|
| Vault Engine | Vaultwarden (Rust) | Stores AES-256 encrypted vaults, handles sync & TOTP authentication. |
| Real-Time Sync | WebSocket (/notifications/hub) | Instantly pushes changes to all devices without manual vault sync. |
| Safe DB Dumper | SQLite .backup utility | Creates atomic database snapshots without lock contention or corruption. |
| Encryption Engine | Restic CLI | Deduplicates and encrypts backup snapshots client-side before transmission. |
| Offsite Storage | Cloudflare R2 (S3 API) | Encrypted remote storage bucket (10 GB free forever, zero bandwidth fees). |
Prerequisites
- A server or home lab running Ubuntu 22.04 / 24.04 LTS or Debian 12 (see our Ubuntu guides).
- Docker Engine and Docker Compose v2 installed.
- A domain name with an SSL/TLS certificate (HTTPS is mandatory because modern web browsers block the Web Crypto API on unencrypted HTTP connections).
- A free Cloudflare account with R2 enabled.
Step 1: Set Up Cloudflare R2 Storage
Cloudflare R2 is an S3-compatible object storage service that never charges for egress (download) bandwidth, ensuring that running emergency backup restorations will never trigger unexpected cloud bills.
- Log into your Cloudflare Dashboard and select R2 Object Storage from the sidebar.
- Click Create bucket, name it
vaultwarden-backups, and choose your preferred geographic region (or leave as Automatic). - On the right side of the R2 overview page, click Manage R2 API Tokens.
- Click Create API Token with the following permissions:
- Permissions: Object Read & Write
- Bucket: Apply to
vaultwarden-backupsonly (Principle of Least Privilege).
- Save the generated Access Key ID, Secret Access Key, and your account’s S3 Endpoint URL (format:
https://<ACCOUNT_ID>.r2.cloudflarestorage.com).
Step 2: Directory Structure & Backup Script
Create a dedicated folder for the project on your host server:
mkdir -p ~/vaultwarden/{vw-data,backup-scripts}
cd ~/vaultwarden
Why do we need a dedicated backup script instead of simply copying the vw-data directory? Vaultwarden uses SQLite by default. If a backup utility copies db.sqlite3 while a write transaction or WAL checkpoint is underway, the resulting backup will be corrupted and unrecoverable.
We solve this using the native SQLite backup API, which creates an atomic, crash-consistent copy before Restic encrypts it. Create ~/vaultwarden/backup-scripts/backup.sh:
cat << 'EOF' > ~/vaultwarden/backup-scripts/backup.sh
#!/bin/sh
set -e
TIMESTAMP=$(date +"%Y%m%d_%H%M%S")
TEMP_DIR="/tmp/vault-backup"
rm -rf "$TEMP_DIR" && mkdir -p "$TEMP_DIR"
echo "=== [$TIMESTAMP] Starting Vaultwarden Backup ==="
# 1. Safely dump SQLite database without locking
if [ -f /data/db.sqlite3 ]; then
    echo "Creating safe SQLite snapshot..."
    sqlite3 /data/db.sqlite3 ".backup '$TEMP_DIR/db.sqlite3'"
fi
# 2. Copy attachments, RSA keys, and configuration
if [ -d /data/attachments ]; then
    cp -r /data/attachments "$TEMP_DIR/"
fi
if [ -d /data/sends ]; then
    cp -r /data/sends "$TEMP_DIR/"
fi
cp /data/rsa_key* "$TEMP_DIR/" 2>/dev/null || true
# 3. Stream encrypted snapshot into Cloudflare R2 via Restic
echo "Streaming encrypted snapshot to Cloudflare R2..."
restic backup "$TEMP_DIR" --tag "vaultwarden"
# 4. Prune old snapshots (keep 7 daily, 4 weekly, 6 monthly)
echo "Pruning older snapshots..."
restic forget --keep-daily 7 --keep-weekly 4 --keep-monthly 6 --prune
# 5. Clean up temporary unencrypted files
rm -rf "$TEMP_DIR"
echo "=== Backup completed successfully! ==="
EOF
chmod +x ~/vaultwarden/backup-scripts/backup.sh
Step 3: The Production Docker Compose File
Now, let’s wire Vaultwarden and our automated backup sidecar into a unified docker-compose.yml file:
services:
  vaultwarden:
    image: vaultwarden/server:latest
    container_name: vaultwarden
    restart: unless-stopped
    environment:
      - WEBSOCKET_ENABLED=true
      - SIGNUPS_ALLOWED=false         # Prevent strangers from registering
      - INVITATIONS_ALLOWED=true      # Allow inviting family/team members
      - SHOW_PASSWORD_HINT=false
      - DOMAIN=https://vault.yourdomain.com
      # Argon2id KDF Hardening (Security Best Practice)
      - PASSWORD_ITERATIONS=600000
      - KDF_MEMORY=65536
      - KDF_PARALLELISM=4
    volumes:
      - ./vw-data:/data
    ports:
      - "127.0.0.1:8088:80"          # HTTP web UI + WebSocket (unified in latest builds)
    healthcheck:
      test: ["CMD", "curl", "-f", "http://localhost:80/alive"]
      interval: 30s
      timeout: 10s
      retries: 3
  vaultwarden-backup:
    image: mazzolino/restic:latest
    container_name: vaultwarden-backup
    restart: unless-stopped
    environment:
      # S3 / Cloudflare R2 Credentials
      - RESTIC_REPOSITORY=s3:https://<ACCOUNT_ID>.r2.cloudflarestorage.com/vaultwarden-backups
      - AWS_ACCESS_KEY_ID=your_r2_access_key_id
      - AWS_SECRET_ACCESS_KEY=your_r2_secret_access_key
      # Restic Encryption Key (SAVE THIS SECURELY!)
      - RESTIC_PASSWORD=GenerateAStrongPassphraseHere_DoNotLoseThis
      # Automated Schedule (Every day at 03:00 AM)
      - BACKUP_CRON=0 3 * * *
    volumes:
      - ./vw-data:/data:ro           # Read-only access to live data
      - ./backup-scripts:/scripts:ro
    entrypoint: ["/bin/sh", "-c"]
    command:
      - |
        apk add --no-cache sqlite
        restic init || true
        crond -f -l 2
    depends_on:
      - vaultwarden
Crucial Security & Hardening Directives
SIGNUPS_ALLOWED=false: Once you create your primary account, keep public signups disabled so random internet scanners cannot create vaults on your server.- Argon2id KDF Settings: By default, Bitwarden historically used standard PBKDF2. Our compose file forces Argon2id with 64 MB memory and 4 lanes, offering maximum defense against GPU-accelerated hash cracking.
RESTIC_PASSWORD: All data is encrypted locally with AES-256 before leaving your machine. Even if Cloudflare suffered a complete breach, your backup snapshots remain unreadable mathematical gibberish without this passphrase. Store it in a safe, offline password record!
Step 4: Reverse Proxy Configuration (Caddy or Nginx)
Modern mobile browsers strictly require HTTPS to allow WebAuthn (YubiKeys, Passkeys) and clipboard autofill. Here is the minimal configuration to route traffic and WebSockets cleanly.
Option A: Caddy (Recommended for Simplicity)
Caddy automatically provisions and renews Let’s Encrypt SSL certificates. Add this to your Caddyfile:
vault.yourdomain.com {
    encode gzip zstd
    reverse_proxy 127.0.0.1:8088
}
Option B: Nginx
If you use Nginx, ensure the WebSocket upgrade headers are passed to support live notifications:
server {
    listen 443 ssl http2;
    server_name vault.yourdomain.com;
    ssl_certificate /etc/letsencrypt/live/vault.yourdomain.com/fullchain.pem;
    ssl_certificate_key /etc/letsencrypt/live/vault.yourdomain.com/privkey.pem;
    client_max_body_size 128M;
    location / {
        proxy_pass http://127.0.0.1:8088;
        proxy_set_header Host $host;
        proxy_set_header X-Real-IP $remote_addr;
        proxy_set_header X-Forwarded-For $proxy_add_x_forwarded_for;
        proxy_set_header X-Forwarded-Proto $scheme;
        # WebSocket support
        proxy_set_header Upgrade $http_upgrade;
        proxy_set_header Connection "upgrade";
    }
}
Step 5: Launching & Testing Your First Backup
Spin up the stack using Docker Compose:
docker compose up -dNow, test your backup pipeline immediately by triggering a manual run inside the backup container:
docker exec -it vaultwarden-backup /scripts/backup.shTo inspect your encrypted snapshots stored in Cloudflare R2, execute:
docker exec -it vaultwarden-backup restic snapshotsYou will see a clean output listing your snapshot ID, timestamp, and tags:
ID        Time                 Host        Tags          Paths
----------------------------------------------------------------------
a3f89b1c  2026-10-02 23:15:00  docker-host vaultwarden   /tmp/vault-backup
----------------------------------------------------------------------
1 snapshot
Step 6: Configuring Bitwarden Apps & Extensions
You can now connect all your devices to your private server:
- Install the official Bitwarden application on your mobile device, desktop, or browser.
- On the initial login screen, tap or click the gear icon (Settings) located in the upper-left or bottom corner.
- Under Self-hosted Environment, enter your server URL in the Server URL field (e.g.,
https://vault.yourdomain.com). Leave all other sub-service URLs blank (Vaultwarden unifies them automatically). - Tap Save, create your master account, and verify that biometric unlock (Face ID / Fingerprint) works seamlessly.
Step 7: The 5-Minute Disaster Recovery Drill
An untested backup is not a backup. If your primary server experiences catastrophic hardware failure tomorrow, here is how you restore your vault on any fresh Linux box in under 5 minutes:
- Install Docker on your new machine.
- Install Restic (
sudo apt install -y restic). - Export your Cloudflare R2 credentials into your shell session:
export RESTIC_REPOSITORY="s3:https://<ACCOUNT_ID>.r2.cloudflarestorage.com/vaultwarden-backups"
export AWS_ACCESS_KEY_ID="your_r2_access_key_id"
export AWS_SECRET_ACCESS_KEY="your_r2_secret_access_key"
export RESTIC_PASSWORD="YourResticPassphrase"
Restore the latest snapshot directly into a fresh vw-data directory:
mkdir -p ~/vaultwarden/vw-data
restic restore latest --target /tmp/restore/
cp -r /tmp/restore/tmp/vault-backup/* ~/vaultwarden/vw-data/
rm -rf /tmp/restore
Start your docker-compose.yml file, and your password manager is instantly restored with every credential, TOTP seed, and attachment intact.
Verdict
By coupling Vaultwarden’s lightweight Rust footprint with Restic’s client-side deduplicated encryption and Cloudflare R2’s generous free tier, you achieve an enterprise-grade, zero-knowledge credential vault that costs $0/month to maintain. You retain complete ownership of your data, eliminate third-party cloud vulnerabilities, and guarantee rapid disaster recovery across any device.
Explore our other guides on Self-Hosting, Privacy, and Tutorials to build out your private cloud stack.
Leave a Reply